


Comprehensive Guide to Customizing Multi-Color EVA Tool Cases: The Complete Process from Requirements to Finished Product
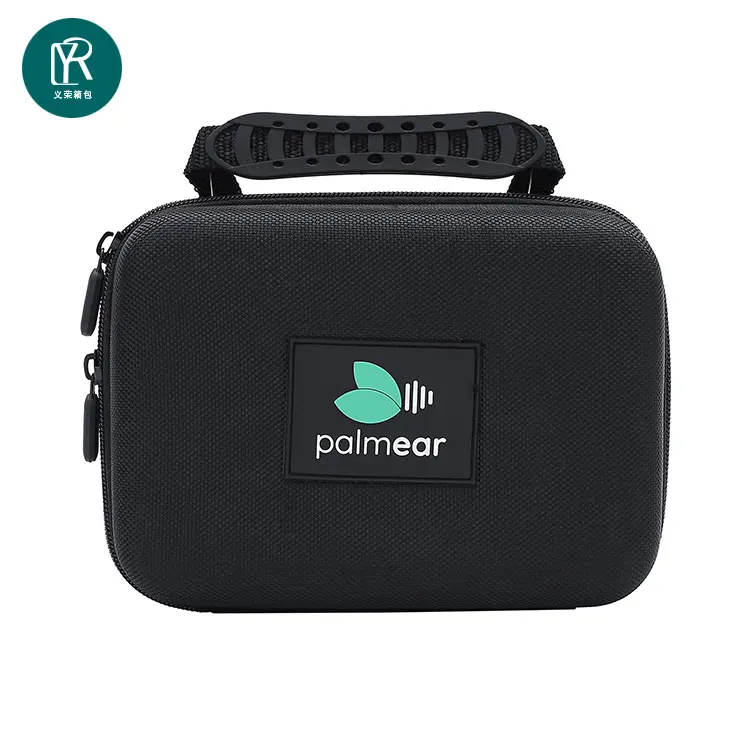
In many fields, including electronic device storage, industrial tool carrying, and outdoor equipment accessories, EVA tool cases hold a significant position due to their lightweight, shockproof, corrosion-resistant, and easily moldable properties. Multi-color customized EVA tool cases not only optimize storage logic through color coding but also integrate brand visual language, becoming a mobile carrier for corporate image communication. From abstract needs to tangible finished products, every step requires precise control. This article will break down the complete customization process for multi-color EVA tool cases.
Step One: Defining Requirements – Clarifying Core Customization Parameters
The starting point of customization is not simply “I want a colorful tool case,” but rather transforming vague needs into actionable technical parameters. Professional customization services will guide the process from three dimensions:
- Scene and Function Positioning: Is it for anti-static storage of precision electronic components, or for heavy-duty protection of hardware tools? The former requires selecting EVA material with added conductive media (surface resistance controlled at 10⁶-10¹¹Ω) and pairing it with a soft lining to prevent scratching; the latter requires increasing the EVA density to 60-80 kg/m³ to ensure impact resistance. It’s also necessary to clarify whether internal structures such as layered compartments and fixing straps are needed, as these will affect subsequent mold design.
- Locking Down Basic Specifications: The maximum dimensions of the tools (a 2cm buffer space is recommended), overall storage capacity, and external size limitations must be provided. For example, a tool case for a Fluke multimeter typically requires an internal cavity size of 315×174×104mm. For multi-color designs, the color partitioning logic must also be determined – whether to divide color areas by tool type or to combine the brand’s primary and secondary colors.
- Compliance and Certification Requirements: Export to Europe requires compliance with REACH regulations, the medical field requires FDA certification, and industrial applications may require metal parts that pass salt spray testing. These requirements must be clarified at the outset to avoid rework due to non-compliant materials later on. Step Two: Solution Design – Balancing Aesthetics and Functionality
Once the requirements are clear, the design phase begins. This is the core of multi-color customization, requiring the coordination of color, structure, and manufacturing processes:
1. Material and Color Scheme Determination
The core parameters of EVA material directly determine product performance: EVA with a VA content of 5%-10% has higher hardness, suitable for making load-bearing outer shells; a VA content of 15%-20% offers better flexibility, suitable for internal partitions. Multi-color effects are achieved in two ways: first, by using pre-dyed EVA sheets, which offer strong color stability and are suitable for large color blocks; second, by using surface printing techniques to present complex color patterns, requiring the selection of appropriate processes based on the fineness of the pattern.
Color confirmation requires providing Pantone color codes to ensure color accuracy, especially when brand colors are involved. It is recommended to request color card samples from the supplier to avoid deviations caused by monitor color differences. For tool bags used outdoors, UV-resistant pigments should be selected to prevent fading after prolonged exposure to sunlight.
2. Structure and Mold Design
The designer will create 3D structural drawings based on internal storage requirements, clarifying how the multi-color areas will be joined – whether it’s a single piece formed and then printed in sections, or using different colored EVA components. Complex structures (such as movable inner trays and curved corners) require custom molds, while simple structures can reuse general molds to reduce costs.
Mold design must simultaneously consider process feasibility: molds for hot-press molding need to reserve a 0.1-0.2mm shrinkage allowance, and the color transition at the joints should avoid large gaps that affect aesthetics. The completed design plan will be presented as 3D renderings and engineering drawings for the client to confirm structural details and color distribution.
3. Printing Process Matching
When multi-color requirements involve complex patterns or logos, the appropriate printing process must be selected:
- Heat Transfer Printing: Suitable for complex multi-color patterns, with high color reproduction and wear and scratch resistance. Temperature control at 70-80℃ can prevent EVA material deformation, and it is commonly used for brand logos and gradient color designs.
- Screen Printing: Suitable for large-area color block printing, with thick ink layers and vibrant colors. It is less expensive than heat transfer printing, but slightly less precise, suitable for simple color zoning and markings. – Pad Printing: Suitable for small-area, intricate patterns, allowing for multi-color printing with high precision, but with a slower production speed. Ideal for small-batch customization.
Step 3: Sample Production – Verifying Design Feasibility
Sample production is the “trial and error” stage of the customization process. Professional suppliers will complete the entire prototyping process, from material cutting to finished product assembly, focusing on three core dimensions:
1. Color and Process Matching: Checking the consistency of sample colors with the color card, testing the adhesion of the printed pattern (using 3M tape for peel testing), and checking the flatness of multi-color拼接 areas.
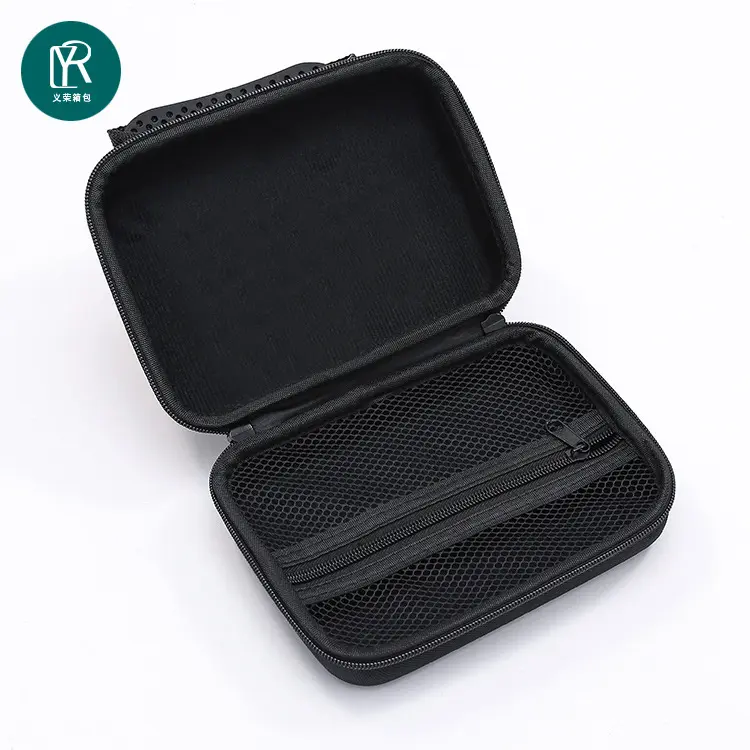
2. Structural Practicality: Placing actual tools into the sample to test storage compatibility, checking compartment sizes, ease of opening and closing, and the load-bearing comfort of handles/shoulder straps to ensure the design meets user habits.
3. Material Performance Standards: Conducting targeted tests based on the usage scenario, such as anti-static testing, waterproof testing (no leakage inside after surface water spraying), and impact resistance testing (no structural damage after dropping from a height of 1.2 meters).
After sample confirmation, both parties will sign a confirmation document, clearly defining the sample standard as the basis for mass production, avoiding future disputes.
Step 4: Mass Production – Fine-Tuning Every Process
The mass production stage centers on the core process of “lamination-forming-printing-assembly-quality inspection.” Each process requires precise control to ensure consistent quality:
1. Raw Material Pre-treatment and Lamination
First, the selected EVA sheets are laminated with fabrics (Oxford cloth, PU, etc.) and lining materials (velvet, jersey fabric, etc.) using hot-melt technology. During the lamination process, the temperature is controlled at around 130℃ to prevent bubbles or delamination. The laminated material needs to be dried to remove moisture, ensuring stability for subsequent processing. The commonly used sheet size is 1.4 × 3.2 meters, which can be cut into smaller pieces according to actual needs.
2. Forming and Cutting
Depending on the mold type, either hot pressing or cold pressing is selected: Hot pressing is suitable for complex structures, using high temperature and pressure to shape the EVA sheets, followed by cooling and setting; cold pressing is suitable for simpler structures and is more cost-effective. The molded semi-finished products are processed at the edges using a cutting machine or trimming machine to ensure smooth, burr-free edges. Multi-colored parts need to be cut separately and marked to avoid confusion.
3. Printing and Assembly
Multi-color printing is performed according to the confirmed process. Before printing, the EVA surface needs to be treated with plasma to improve ink adhesion. After printing, assembly is carried out, combining the EVA parts with zippers, handles, rivets, and other accessories through sewing or fixing processes. The sewing density needs to be controlled at 12-15 stitches per 3cm to ensure the load-bearing parts are secure. Double-line stitching is used at multi-color拼接处 (multi-color splicing points) to enhance stability and improve aesthetics.
4. Full-Process Quality Inspection
Quality inspection adopts a “sampling inspection + full inspection” combined model: sampling inspection focuses on testing physical properties, such as density (0.9-0.95g/cm³) and hardness (Shore A 30-70), and other core parameters; full inspection focuses on appearance, checking for color deviations, printing defects, sewing flaws, etc. Non-conforming products need to be repaired or scrapped in a timely manner. The finished product must be accompanied by a quality inspection report, clearly stating various performance indicators and meeting the standard requirements of the target market.
Step Five: Packaging and Delivery – Ensuring Transportation Safety
After passing the quality inspection, the finished products are individually packaged in dustproof bags, reinforced with corrugated cardboard boxes on the outside, and filled with cushioning materials inside to prevent compression and deformation during transportation. For international orders, shipping marks will be labeled according to destination requirements, and logistics tracking services will be provided to ensure safe delivery of goods. Some suppliers can also provide neutral packaging or customized brand packaging to meet cross-border sales needs.
Customization Tips: Keys to Improving Efficiency and Quality
1. Provide reference samples: If you have a tool bag with the desired effect, providing a physical sample can significantly reduce communication costs and help the supplier accurately match the process.
2. Clarify batch size and delivery time: Small batch customization (a few hundred pieces) is suitable for pad printing or screen printing, while large batches (thousands or more) can use heat transfer printing to reduce unit costs. The delivery time usually requires 15-25 days (including mold making time).
3. Pay attention to environmental details: Choosing suppliers that use biodegradable adhesives and recycle scrap materials aligns with global environmental trends and enhances brand image.
Post time: Dec-17-2025