




EVA Case Sample Development Process: A Complete Step-by-Step Guide for Global Buyers
Introduction
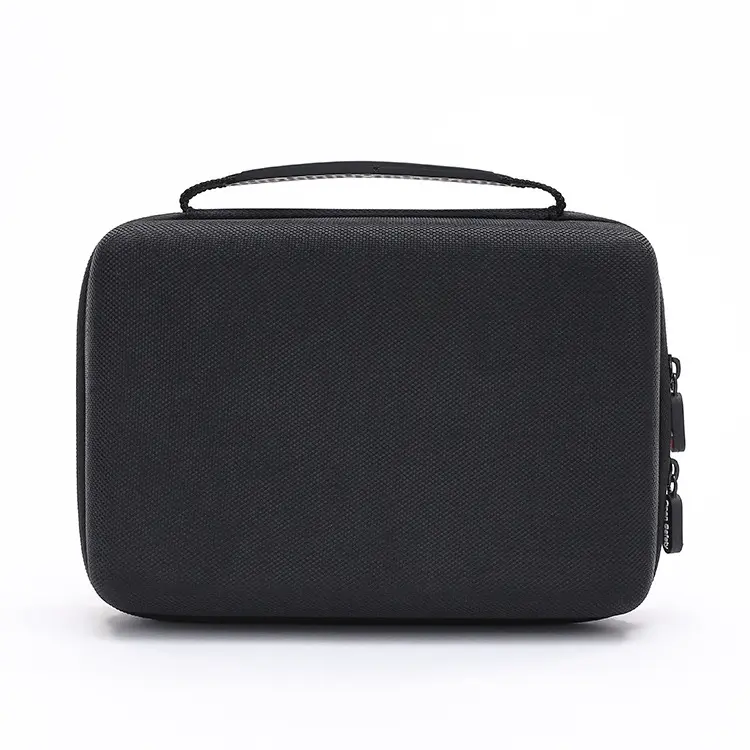
Why EVA Case Sample Development Matters Before Bulk Orders
- Poor product fitment: Loose foam cavities cause shifting and impact damage during transit
- Material mismatch: Incorrect EVA hardness, fabric lamination or zipper grade reduces durability
- Unverified branding: Embossed, printed or debossed logos fail to match brand visual standards
Full EVA Case Sample Development Process (8 Standard Stages)
Stage 1: Project Brief & Technical Specification Alignment
- Exact 3D dimensions, physical samples or CAD files of the core product the case will store
- Material requirements: EVA hardness rating, outer shell fabric (PU, carbon fiber texture, Oxford), interior lining, foam insert type (CNC cut molded foam, flat foam, elastic dividers)
- Hardware specs: Zipper type/color, handle, buckle, rubber feet, carry strap
- Branding details: Logo placement, printing method (silkscreen, emboss, deboss, heat transfer), Pantone color codes
- Compliance standards: REACH, RoHS, food-grade or medical-grade material requirements
- Functional testing expectations: Shockproof, waterproof, compression resistance
Stage 2: 2D Draft & 3D Engineering Render Creation
- 2D flat schematic: Shows unfolded shell layout, foam insert cavity layout, hardware positioning and seam lines
- 3D photorealistic render: Visualizes finished case shape, color matching, logo placement and ergonomic structure
Stage 3: Prototype Tooling & Mold Fabrication
- ODM prototype (short lead time): Reuses pre-existing thermoforming molds for standard case shapes. Only custom CNC foam cutting dies are produced for interior layout, cutting tooling lead time significantly.
- OEM fully custom prototype: CNC machining of aluminum thermoforming molds tailored to the unique outer shell contour of the custom case. Mold size, cavity depth and surface texture determine tooling production time and cost.
Stage 4: Raw Material Preparation & Pre-Processing
- EVA foam sheet verification: Density, Shore hardness and environmental certification test reports
- Outer fabric lamination inspection: Color consistency, texture, waterproof coating adhesion
- Hardware quality control: Zipper smoothness, metal buckle tensile strength, stitching thread durability
Stage 5: Core Molding & Interior Foam Fabrication
- Thermoforming the hard EVA shell
EVA sheets bonded with outer fabric are heated under controlled temperature and pressure inside the custom mold. Precision cooling locks the rigid, shock-resistant shell shape, after which excess material is trimmed to create clean, symmetrical top and bottom case halves.
- Custom foam insert manufacturing
For premium protective cases, solid EVA foam blocks are CNC routed to create contoured cavities that lock the target product and accessories in place. Basic prototypes may use flat foam with elastic straps for faster turnaround.
Stage 6: Assembly, Hardware Mounting & Branding Application
- Sewing and bonding: Shell edges are stitched or heat-sealed to prevent separation under compression; interior linings and foam inserts are secured with industrial adhesive.
- Hardware installation: Zippers, carrying handles, shoulder straps and protective rubber bumpers are mounted and tested for smooth operation. Each zipper undergoes a minimum 50 open-close cycle test to catch jamming or weak sliders.
- Branding finishing: Approved logo treatments are applied as specified—silkscreen printing, heat transfer, embossing or debossing. Color density and logo alignment are cross-referenced against Pantone references to avoid fading or offset printing.
Stage 7: Multi-Round Sample Quality Inspection
- Dimensional accuracy inspection
All length, width, depth and cavity measurements are cross-referenced to technical drawings, with tolerance controlled within ±0.5mm to ensure consistent bulk production sizing.
- Functional performance testing
- Drop test: Free fall from standard carrying height to verify shock protection
- Compression test: Simulate stacked shipping pressure to prevent shell deformation
- Waterproof test: Light surface splash resistance for outdoor use cases
- Hardware durability: Zipper, handle and buckle load testing
- Aesthetic compliance check
Uniform color matching, seamless stitching, crisp logo details and zero surface scratches or mold warping. Any non-conforming samples are reworked entirely rather than patched.
Stage 8: Sample Delivery, Buyer Review & Revision Cycles
- Secure fitment of core devices and accessories inside foam cavities
- Ergonomics of carrying handles, shoulder straps and zipper access
- Surface texture, color and logo alignment against brand guidelines
- Overall weight, thickness and portability for target end users
- Full approval: The sample becomes the official pre-production reference standard for mass manufacturing, with all tooling retained for future reorders.
- Revision request: Adjustments to foam layout, shell thickness, hardware or branding are logged, and a revised second sample is produced within a short turnaround window. Minor tweaks rarely require new mold fabrication, while major structural changes will trigger updated tooling and a third prototype round.
Typical Sample Development Lead Time Breakdown
- ODM sample (existing shell molds, only custom foam inserts): 3–7 working days
- Standard OEM custom molded sample (simple outer contour): 7–12 working days
- Complex OEM sample (multi-layer foam, dual-color shells, embossed branding): 12–18 working days
Key Tips for Buyers to Streamline EVA Case Sampling
- Submit physical product samples alongside CAD files
Digital dimensions alone cannot capture subtle curves or protruding parts that impact foam cavity fitment. Sending one unit of your finished product eliminates repeated foam revisions.
- Lock Pantone color codes and logo vector files upfront
Color mismatches and blurry printed logos account for nearly 40% of sample revision requests. Providing high-resolution vector artwork and official Pantone references removes guesswork during finishing.
- Clarify mold ownership terms in advance
Confirm whether custom thermoforming molds belong to your brand after sampling. Most manufacturers store buyer-owned molds free of charge for ongoing order cycles.
- Request full material test reports with each prototype
Ask for REACH, RoHS and density certification documents to validate compliance for European, North American and Australian retail markets.
- Reserve time for two rounds of sample review
Even with comprehensive initial briefs, minor fit or aesthetic adjustments are common. Building revision windows into your product timeline avoids last-minute bulk production delays.
Conclusion
Post time: Jul-15-2026