




Custom EVA Case Branding: Printing, Embossing and Label Options
Branding on an EVA case is decided long before the first production run. The decoration method affects tooling cost, fabric selection, minimum order quantity and unit price. Buyers who treat logo work as an afterthought usually discover the problem at sampling, when the approved artwork cannot be reproduced on the actual shell. This guide compares the three main branding routes and the checks each requires.
Why the Decoration Method Must Be Fixed Early
Every branding method imposes constraints on the case design. Embossing needs a flat area clear of zippers and seams. Printing needs a smooth, coated fabric. Sewn labels need a panel position a stitching machine can reach. Confirm these decisions at the tooling and sampling stage, so dies, screens or label patterns can be prepared in parallel with the mold, and you avoid a second sampling round.
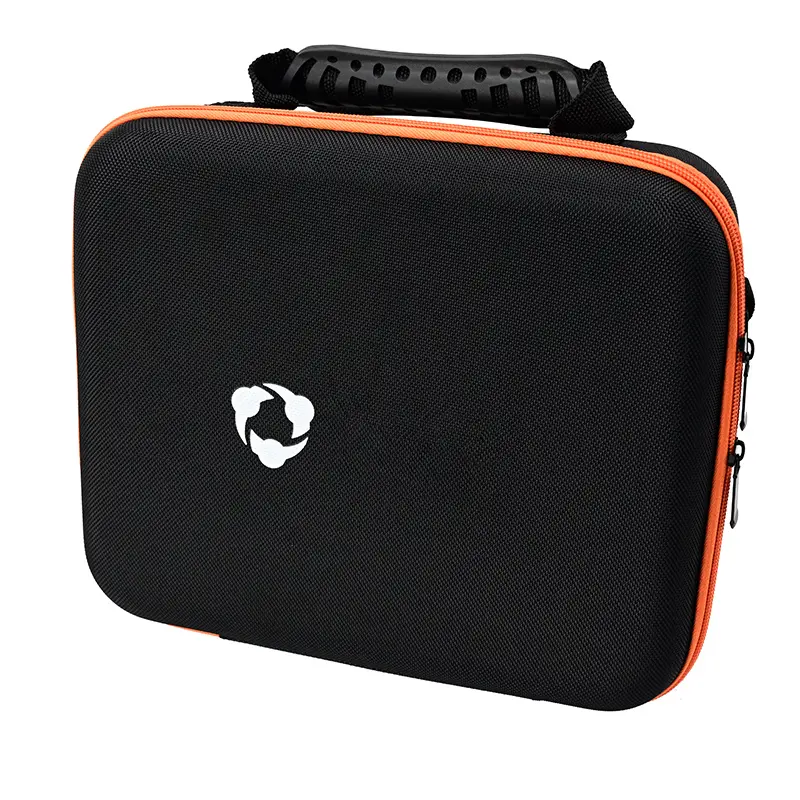
Screen Printing and Heat Transfer Printing
Screen printing is the lowest-cost option for simple logos. Each color requires its own screen and setup fee, so multi-color designs increase cost and registration risk. It works best on smooth fabrics such as 600D or 1680D polyester with a PU coating; on textured surfaces, ink adhesion drops sharply. Heat transfer printing bonds ink into the fabric with heat and pressure, handling gradients and fine detail screen printing cannot, with no raised film to crack. The trade-off is a higher setup cost and a run size that rarely makes sense below a few hundred units.
- Screen printing: best for one or two solid colors, fast setup, lowest unit cost at volume.
- Heat transfer: best for detailed multi-color artwork, higher pre-production cost.
Embossing and Debossing
Embossing presses the logo into the shell during molding and lamination, creating a raised mark with no ink at all. Because the logo is formed in the material itself, it cannot peel, fade or wash off, making it the most durable option for tool cases used in workshops and truck beds. Tooling cost is a single die amortized across the program, and the marginal cost per unit is close to zero. Embossing needs a flat lamination area and a fabric that takes a clean impression; thin fabrics over medium-density EVA give the sharpest results. Keep impression depth between 0.3 mm and 0.5 mm, because deeper marks can stress the fabric at fold lines.
Sewn and Applied Labels: Woven, Rubber and TPU
Labels are the most flexible route. A woven label stitched into the zipper seam or side panel carries multi-color detail at low cost and survives abrasion well. Rubber and TPU badges give a three-dimensional look printing cannot match; they are stitched or bonded, and adhesive aging under heat should be checked. Metal logo plates suit premium programs but add weight and sharp-edge risks some retail channels reject.
- Woven labels: cheapest per unit at volume, stitched durability, flat designs only.
- Rubber or TPU badges: strong 3D presence, verify adhesive peel strength.
- Metal plates: premium image, check edge treatment and corrosion resistance.
Choosing the Right Method for Your Program
The decision comes down to four factors. Surface fabric: coated smooth fabric favors printing, textured fabric favors labels, plain lamination favors embossing. Artwork complexity: gradients and fine lines push you toward heat transfer or woven labels. Position: curved or seamed areas exclude embossing and large prints. Volume: high-volume programs amortize dies quickly, while short runs favor methods with no tooling at all.
Many programs combine methods. A common configuration for tool brands is an embossed logo on the lid, a printed model name on the side and a small woven label at the seam. This spreads risk: if one method underperforms in testing, the others still carry the brand identity. Your supplier can also advise on logo placement tolerance before the die is cut.
Tip: Always request branding samples made on your actual production fabric and shell thickness, because ink adhesion and emboss depth on a substitute panel tell you nothing about the finished case.
Acceptance Criteria to Write Into Your Specification
- Ink adhesion: cross-cut tape test, no lifting after the specified pulls.
- Print durability: rub test under a defined load and cycle count, no fade.
- Color: checked under D65 light against approved Pantone references.
- Emboss: depth measured with a gauge, clean edges, no fabric cracking.
- Labels: stitch density agreed in advance; adhesive badges peel-tested after heat and humidity conditioning.
- Position: tolerance stated in millimeters from a datum edge or seam.
Write these checks into the sample approval document, not just the purchase order.
Cost Structure Buyers Should Expect
Screen printing carries a setup fee per color, then a low per-unit cost. Heat transfer has a higher artwork and plate charge. Embossing has a one-time die cost with almost no running cost, so it becomes the cheapest option once volume passes roughly a thousand units. Labels cost a few cents per piece plus sewing labor, with rubber badges higher. Ask suppliers to quote each method with tooling itemized, so you compare real unit costs at your actual order quantity.
Frequently Asked Questions
Can I combine embossing and printing on the same case?
Yes, and it is common. The emboss die and printing screens are independent tools. Confirm the printed panel does not overlap the embossed area, because ink on a raised edge wears first.
Which method survives the harshest use?
Embossing, since there is no ink layer or attached label to fail. Sewn woven labels come next, then heat transfer, with screen printing most vulnerable to abrasion.
What should I give the factory for a branding quotation?
Vector artwork, logo size, target position, fabric choice, order quantity and the number of colors. With these items a supplier can quote tooling and unit cost without a sampling round.
Related Pages
EVA Tool Case Custom Inserts Design · EVA Tool Case Purchase Order Guide · EVA Tool Case Sample Evaluation Guide · EVA Case Bulk Order Tips
Post time: Nov-16-2026