




EVA Tool Case Heat Molding Process: Complete Technical Breakdown For Procurement Professionals
Introduction
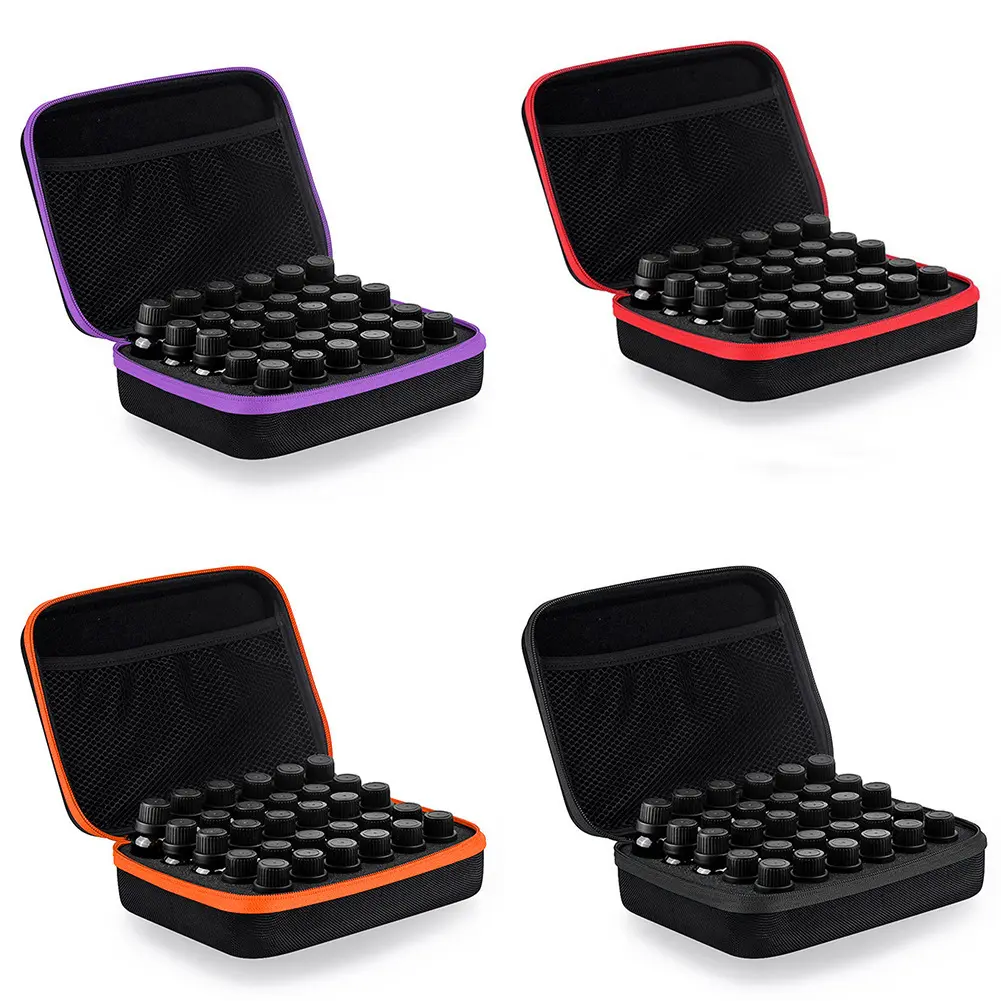
What Is EVA Heat Molding for Tool Cases?
- Outer surface layer: PU carbon fiber fabric, 600D/1680D Oxford nylon, scratch-resistant spandex, delivers wear resistance and water repellency
- Core EVA foam substrate: High-density closed-cell EVA (60–80 Shore C for heavy-duty tool cases), provides structural rigidity and impact buffering
- Inner lining layer: Soft flocking, jersey polyester or micro velvet, prevents scratches on precision screwdrivers, testers, power tools and measuring equipment
Full Step-by-Step EVA Tool Case Heat Molding Workflow
Step 1: Pre-Production Mold Engineering & Pre-Calibration
- Drawings & mold cavity design
Manufacturers generate CAD files matching tool dimensions, carving concave compartments for individual tools, with a 1°–3° draft angle on all cavity walls to avoid sticking post-molding. Complex multi-tool layouts add tiny 0.1–0.2mm vent slots to release hot air and stop surface bubbling. Separate upper and lower molds are machined for the case lid and base.
- Mold heating & cooling channel setup
Molds integrate zoned heating plates to keep temperature variation within ±5°C across the entire cavity, paired with embedded water circulation cooling channels spaced 20–30mm apart for uniform post-forming cooling.
- Pre-calibration test run
A small test EVA blank is pressed to adjust flatness, cavity depth and edge clearance before formal mass molding.
Step 2: Composite Material Pre-Treatment
- Moisture drying
EVA foam with moisture content above 0.1% will form blisters under high heat. Sheets are baked at 80–90°C for 2–4 hours to remove residual moisture from storage or lamination.
- Precision die cutting
Laminated fabric-EVA sheets are die-cut into oversized blanks, slightly larger than the mold cavity to guarantee full material coverage during pressing. Cutting tolerance is controlled within ±0.5mm to avoid misalignment.
- Low-temperature preheating
Blanks go through a preheat oven at 60–80°C for 30–60 seconds to soften the EVA surface layer, reducing formal molding cycle time and surface wrinkling risks.
Step 3: Core Heat Compression Molding Cycle
- Mold preheating
Hydraulic hot-press equipment heats upper/lower molds independently to a target temperature range of 140–160°C for standard density EVA; thicker, heavy-duty tool case substrates increase temperature to 160–180°C. The machine stabilizes heat for 15–30 minutes to eliminate cold spots.
- Material loading & low-pressure pre-fit
Preheated EVA composite blanks are centered into the lower mold cavity. The press closes gently with light 5–10MPa pressure to fix material position and prevent sliding during full compression.
- High-temperature high-pressure holding
For complex multi-compartment tool cases, pressure rises to 15–20MPa. The machine maintains full heat and pressure for 45–90 seconds:
- 3mm thin EVA shells: 45–60 seconds hold time
- 4–6mm thick heavy-duty tool shells: 70–90 seconds hold time
Every 1mm increase in EVA thickness adds 10–15 seconds of holding time to ensure full foam flow into every mold recess.
- Vent cycle integration
Machines briefly crack the mold 1–2 times mid-cycle to discharge trapped hot air, a critical step to eliminate dents, hollow spots and uneven fabric stretching on the case exterior.
Step 4: Controlled Cooling & Demolding
- Pressure-locked cooling
Hydraulic pressure remains fully applied while circulating cold water through mold channels to lower temperature gradually. Factories use a two-stage cooling curve:
- Initial fast cooling: 5–10°C/min drop until reaching 80°C
- Slow secondary cooling: 2–3°C/min drop from 80°C to below 40°C
Rapid single-stage cooling creates large internal material stress, which warps case edges weeks after delivery.
- Demolding inspection
Once mold temperature drops below 40°C, the press opens, and molded EVA case shells are lifted out. Operators conduct a quick visual check for bubbles, fabric creases, incomplete cavity filling or surface pressure marks before moving to trimming.
Step 5: Post-Molding Trimming & Surface Refinement
- Die-cut trimming
Automated punching machines remove surplus EVA-fabric edges following the case outline, ensuring matching symmetry between lid and base shells for seamless zipper assembly.
- Burr polishing & edge smoothing
All cut edges are polished to eliminate rough EVA foam exposure, preventing fabric fraying during long-term tool transport.
- Optional surface customization
Embossed brand logos, anti-slip texture patterns or carbon fiber finish shaping can be integrated during a secondary low-heat press cycle without distorting the shell structure.
Step 6: Secondary Assembly & Molding Quality Final QC
- Dimensional tolerance test
All length, width and cavity depth measurements must stay within ±0.5mm tolerance to guarantee tools fit snugly without loose shifting inside the case.
- Structural rigidity test
Manual squeeze and bend testing verifies the molded shell retains its shape without permanent indentation under moderate pressure.
- Defect screening
Reject units with bubbling, discoloration, deep pressure marks, warped edges or incomplete cavity forming.
- Sewing & hardware fitting
Qualified molded shells move to assembly lines for zipper installation, handle riveting, inner foam divider placement and stitching, completing the full EVA tool case.
Key Heat Molding Parameter Guide For Procurement Audits
| Parameter Category | Standard Tool Case Settings | Heavy-Duty Industrial Tool Case Settings | Common Defect From Poor Control |
|---|---|---|---|
| Mold Temperature | 140–160°C | 160–180°C | Underheating = shallow cavity shapes; Overheating = fabric discoloration, EVA brittleness |
| Hydraulic Pressure | 5–10MPa (simple shells) | 15–20MPa (multi-compartment) | Low pressure = loose contours; Overpressure = crushed foam, reduced shock resistance |
| Heat Hold Time | 45–60s (3mm EVA) | 70–90s (4–6mm EVA) | Short hold time = rebound deformation; Overhold = fabric melting |
| Cooling Exit Temp | ≤40°C | ≤35°C | High demold temp = long-term warping after shipment |
| EVA Density | 60–65 Shore C | 70–80 Shore C | Low density = soft, easily deformed shells; High density = reduced impact cushioning |
Two Primary EVA Heat Molding Variants & Their Best Use Cases
1. Direct Compression Molding (Most Common for Tool Cases)
- Advantages: Precise deep cavity forming, stable dimensional consistency, excellent fabric lamination bonding, compatible with embossed branding
- Ideal for: Bulk procurement orders, multi-tool compartment layouts, heavy industrial hardware, long-term repeated transport use
- Limitations: Higher upfront mold cost for small batch orders below 500 units
2. Vacuum-Assisted Heat Molding
- Advantages: Tighter fabric adhesion to complex curves, zero surface wrinkles, suitable for slim electronic tool accessories
- Ideal for: Compact diagnostic tool kits, portable testing equipment, lightweight consumer tool storage
- Limitations: Slower production cycle, higher equipment operation cost, less effective for thick high-density EVA shells
How Heat Molding Quality Impacts Your End Product & Supply Chain
- Protective performance consistency
Uniform heat and pressure create closed-cell EVA structures with consistent shock absorption. Poor molding leads to thin, weak shell sections that fail drop tests during field use, triggering product returns.
- Long-term dimensional stability
Controlled cooling eliminates shrinkage drift. Cases processed with rushed cooling will warp after months of storage, causing tool rattle and loose fit inside packaging.
- Brand aesthetic uniformity
Stable temperature control prevents patchy fabric discoloration, uneven embossed logos and surface blemishes, critical for branded OEM/ODM tool case lines sold under retail brand labels.
- Production cost predictability
Factories with calibrated heat molding lines reduce rejection rates, lowering hidden rework costs that often get passed to bulk buyers through hidden order surcharges. Standardized cycles also maintain consistent lead times for repeat restock orders.
Common Heat Molding Defects & Root Causes To Check During Sample Approval
- Surface air bubbles
Root cause: Insufficient material drying, missing mold vent slots, skipped mid-cycle venting steps
- Warped shell edges
Root cause: Early demolding before full cooling, uneven mold channel layout, inconsistent EVA sheet thickness
- Shallow, incomplete tool cavities
Root cause: Low hydraulic pressure, insufficient heat hold time, misaligned blank loading
- Fabric creases & stretching
Root cause: Missing preheating stage, uneven mold temperature distribution, uncalibrated low-pressure pre-fit cycle
- Faded or melted outer fabric
Root cause: Excessively high mold temperature, overextended heat holding time
Final Takeaways For Procurement Teams
Post time: Jul-06-2026