




Top 10 Mistakes to Avoid When Ordering Custom EVA Tool Cases
Table of Contents
- Introduction
- Mistake 1: Choosing the lowest unit price without calculating total landed cost
- Mistake 2: Submitting incomplete or inaccurate product dimensions
- Mistake 3: Over‑relying on CAD renders instead of physical pre‑production samples
- Mistake 4: Selecting incorrect foam density for tool weight and usage
- Mistake 5: Neglecting hardware quality: zippers, handles and straps
- Mistake 6: Skipping market‑required compliance and material documentation
- Mistake 7: Leaving design and branding requirements vague and undocumented
- Mistake 8: Forgetting to plan for accessories inside the case
- Mistake 9: Building no buffer into production and shipping timelines
- Mistake 10: Failing to set clear bulk‑order acceptance criteria
- Final thoughts for smoother custom EVA case procurement
- Frequently Asked Questions
Introduction
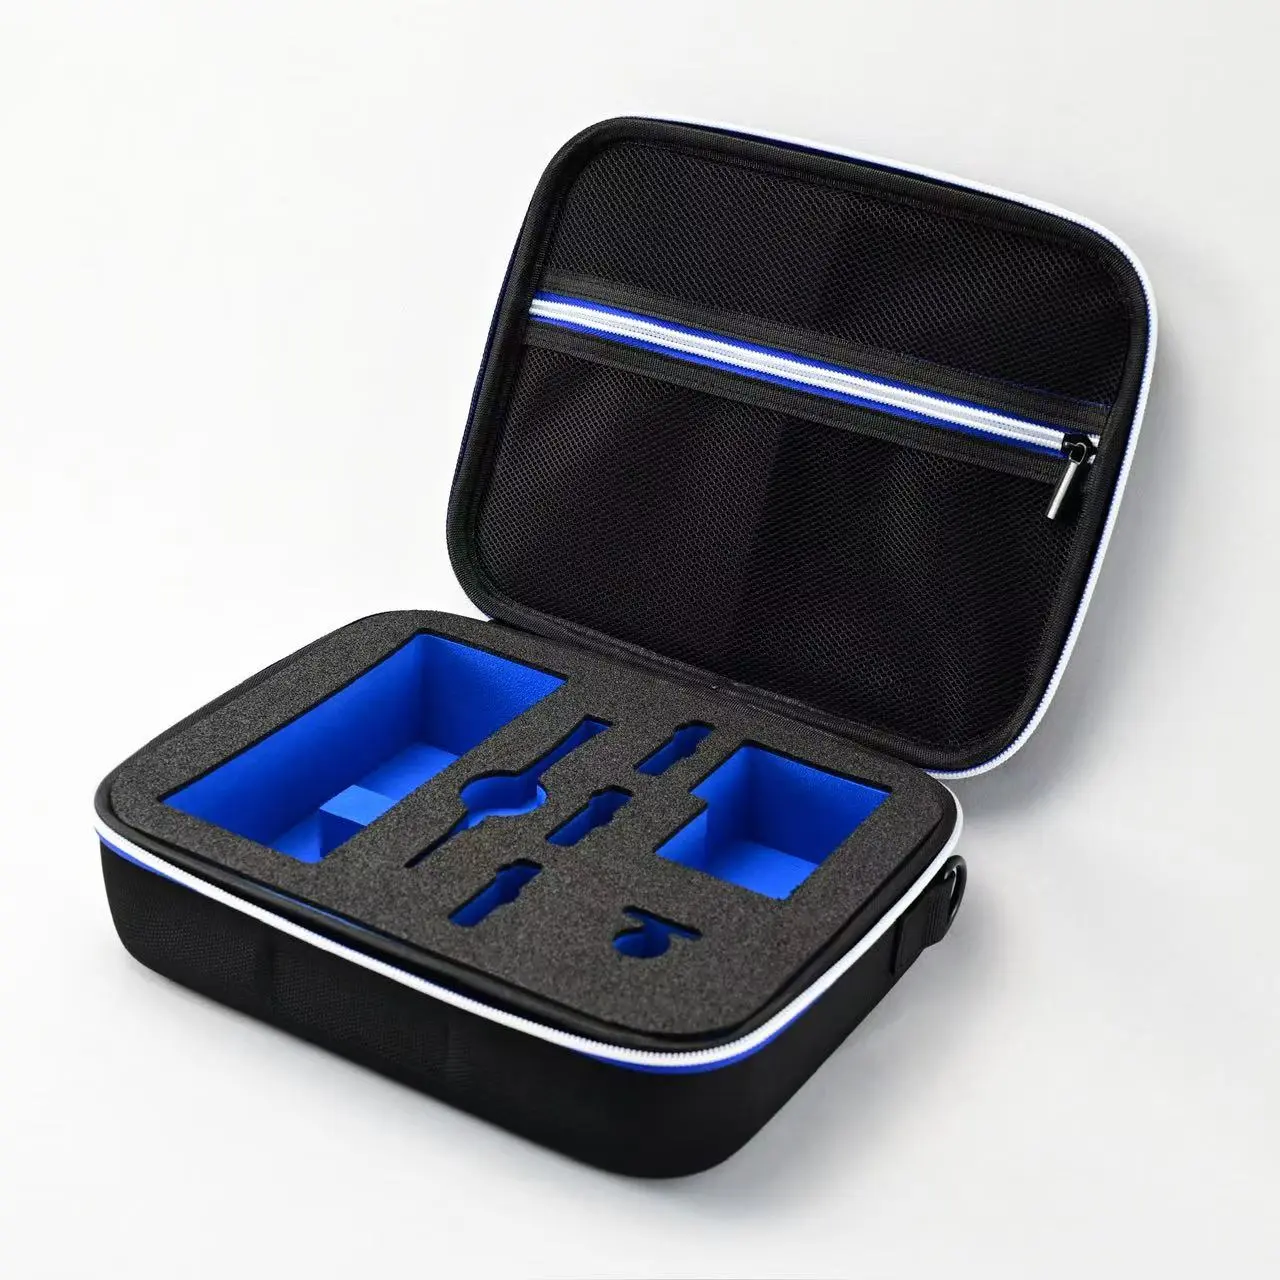
Custom‑molded EVA tool cases deliver outstanding shock protection, compact portability and brand‑ready appearance for hand tools, measuring instruments, diagnostic gear and electronic accessories. When done well, these hard‑shell carriers improve product value, protect high‑value equipment and create a consistent unboxing experience for end‑users.
Yet many procurement teams, product managers and brand buyers run into costly setbacks. Delayed shipments, foam inserts that do not fit, hardware that fails quickly, customs hold‑ups and large batches that do not match expectations can eat into margins and damage brand reputation. Most issues stem from avoidable planning and communication errors, not manufacturing failure.
This article walks through ten of the most common mistakes buyers make when ordering custom EVA tool cases, explains why each problem happens, and offers actionable steps you can apply before you confirm your next purchase order.
Mistake 1: Choosing the lowest unit price without calculating total landed cost
The problem
Many buyers compare quotations based purely on per‑unit price and award the project to the cheapest offer. Low unit pricing frequently comes with hidden trade‑offs: thinner EVA shell walls, low‑density foam, generic untested zippers, minimal quality checks and simplified foam cutting work.
Savings on the initial quote can vanish rapidly. You may face costs for expedited freight to make up production delays, rework charges for misaligned logos or poorly fitted inserts, customer returns from end‑users whose tools are not properly protected, and expenses for defective inventory you cannot sell. Many buyers overlook import duties, testing fees, inland transport and warehousing when evaluating offers. A quote that looks 10‑15 % cheaper per piece can end up significantly more expensive once all supply‑chain expenses are added in.
How to avoid it
- Request every supplier quote against an identical specification sheet: same shell thickness, foam grade, hardware, branding and packaging, so you can make a genuine side‑by‑side comparison.
- Build a full landed‑cost estimate that includes production, any tooling or sample fees, testing, freight, duties and contingency budget for possible revisions.
- Treat unit price as one factor among many, alongside material performance, sample quality and supplier reliability.
Mistake 2: Submitting incomplete or inaccurate product dimensions
The problem
Custom EVA cases and their foam inserts are built around exact physical measurements of your tools. If you provide approximate numbers, dimension drawings from old product versions, or CAD data that does not reflect final finished hardware, the foam cavities will not fit properly.
Too‑tight cut‑outs make tools hard to insert and remove and can scratch finished surfaces. Too‑loose cavities let items rattle inside the case during transit, defeating the shock‑absorbing purpose of the EVA solution. Even a few millimetres of error can ruin the whole custom project.
How to avoid it
- Measure your final production‑ready tools and accessories physically, do not rely only on early‑stage design files.
- Note not just length, width and height, but protruding buttons, knobs, cables and connectors that occupy interior space.
- Communicate clear tolerances for fit to your supplier, and specify whether you want a snug grip or slight clearance for easy removal.
Mistake 3: Over‑relying on CAD renders instead of physical pre‑production samples
The problem
Detailed 3D renderings show what a custom EVA tool case should look like, but they cannot replicate real‑world performance. Renderings will not reveal stiff zippers, foam that is too soft, handles that dig into hands, fit gaps, or closure tension issues. Some buyers approve mass production based only on digital visuals, only to discover functional flaws once thousands of units arrive.
How to avoid it
- Always request a physical pre‑production sample (PP sample) before opening mass production.
- Test the sample with your actual tools and accessories. Check opening‑closing action, handle comfort, how securely items sit inside, and overall durability.
- Document every change needed on the physical sample, and confirm revisions on a second sample if required, before signing off for bulk manufacturing.
Mistake 4: Selecting incorrect foam density for tool weight and usage
The problem
Foam insert density defines how well your case protects equipment. Soft, low‑density foam is inexpensive, but under sustained weight from metal or heavy instruments it compresses permanently. Over months of regular use, cavities deform, items shift, and shock protection disappears. Conversely, overly‑hard high‑density foam can make insertion difficult and risk scratching precision‑finished gear.
Buyers often choose foam grade based only on cost, without considering how end‑users will carry, drop, or store the tool case.
How to avoid it
- Share with your supplier: total weight of loaded‑up case, typical drop or impact scenarios, and expected service life for the product.
- For heavy metal tools, specify higher‑density base foam. For delicate precision instruments, combine firm support with softer contact surfaces where appropriate.
- During sample evaluation, physically load the case and check for foam compression after repeated insert‑remove cycles.
Mistake 5: Neglecting hardware quality: zippers, handles and straps
The problem
On EVA tool cases, hardware (zippers, pullers, carry handles, shoulder straps) is the most frequent point of real‑world failure. Buyers often focus attention on shell shape and foam layout, treating hardware as an after‑thought. Cheap generic zippers jam, split teeth, or pull away from stitching. Thin fabric handles tear under the weight of loaded‑up tool sets. When hardware breaks, the whole case becomes unusable, regardless of how good the shell and foam are.
How to avoid it
- Define hardware requirements clearly in your specification sheet: zipper grade, preferred brand equivalent, handle construction, strap load rating.
- Test hardware thoroughly on your physical sample: open‑close zippers dozens of times, stress‑test handles with the full expected load.
- For industrial‑grade tool cases, avoid the cheapest off‑the‑shelf hardware options.
Mistake 6: Skipping market‑required compliance and material documentation
The problem
Different global markets enforce strict rules for materials in consumer and industrial goods. EVA foam, fabric, glue and printing inks may need to satisfy environmental and safety standards. Without correct supporting documentation, shipments risk customs inspection, detention, fines or forced return, creating major delays and unexpected expenses. Many buyers assume their supplier’s products automatically meet regional requirements, without formal verification.
How to avoid it
- Clearly state which market standards your order must satisfy (for example REACH, RoHS for European destinations).
- Request relevant test reports and material certificates before production starts, not after goods ship.
- Confirm that certificates match the actual materials going into your custom tool‑case batch.
Mistake 7: Leaving design and branding requirements vague and undocumented
The problem
“Put our logo on the case” is not a complete specification. Without written details for logo size, placement, printing or embossing technique, exact Pantone colour codes, and finish requirements, you risk mis‑positioned marks, faded print, or colour mismatches between case shell, zippers, trim and branding. Verbal agreements easily lead to different interpretations between buyer and project team, resulting in costly rework after production completes.
How to avoid it
- Prepare a simple visual spec sheet: mark logo location, dimensions, Pantone colour references, and select the branding method (silk‑screen print, emboss, heat transfer, woven label etc.).
- Check logo quality, colour match and wear resistance on your physical sample.
- Lock all graphic‑related changes at the sample phase; changing branding once mass‑production has commenced adds significant cost and lead‑time.
Mistake 8: Forgetting to plan for accessories inside the case
The problem
Buyers often design foam inserts only for their main tool unit, overlooking cables, chargers, bits, adapters, manuals and small spare parts. When these items arrive, there is nowhere secure to store them. End‑users toss loose accessories into empty space; they rattle, get lost, scratch equipment, or fall out when the case is opened. Even well‑protected main tools suffer secondary damage from unorganised loose contents.
How to avoid it
- List every item that will travel inside the case, not only the primary tool.
- Work with your supplier to integrate appropriate solutions: shaped foam cavities, mesh zippered pockets, elastic retaining straps, divided compartments for small components.
- When you test your sample, place every single accessory inside and verify everything stays neatly secured.
Mistake 9: Building no buffer into production and shipping timelines
The problem
Many buyers set delivery dates based purely on quoted standard production days, with zero contingency. Custom EVA case projects can encounter delays: sample revision cycles, material‑supply shifts, peak‑season factory load, quality hold‑ups, or port‑shipping congestion. Without time buffers, you risk missing product‑launch windows, retail delivery deadlines or customer fulfilment targets. Some buyers then pay steep premiums for air freight to rescue late orders.
How to avoid it
- Separate your schedule into sampling period, mass‑production window and transit time.
- Add reasonable contingency buffer time for revisions and unforeseen hold‑ups.
- Confirm milestone dates for sample approval, production start and expected finished‑goods readiness, not only a final ship‑by date.
Mistake 10: Failing to set clear bulk‑order acceptance criteria
The problem
What counts as an acceptable finished case? If you have not written acceptance criteria, disagreements emerge at pre‑shipment inspection. Questions arise around allowable colour variation, minor cosmetic blemishes, zipper function, foam fit and stitching quality. Without agreed benchmarks, you may face a choice between accepting non‑conforming goods or facing project delays while negotiating re‑production.
How to avoid it
- Reference your approved physical pre‑production sample as the benchmark for bulk‑order quality.
- Document key acceptance rules: allowable colour‑deviation range, functional requirements for zippers and handles, maximum acceptable cosmetic flaws.
- Agree on pre‑shipment inspection arrangements, so you can catch major deviations before goods leave the factory.
Final thoughts for smoother custom EVA case procurement
Ordering custom EVA tool cases is more than picking a shape and placing an order. Success depends on precise specifications, physical sample validation, realistic scheduling and clear shared expectations between buyer and supplier. Most expensive mishaps do not come from manufacturing failures, but from gaps in information, incomplete requirements, or skipping critical pre‑production checks.
If you invest time in thorough planning at the beginning of your project, you get tool cases that truly protect your equipment, represent your brand well, and avoid unexpected costs and schedule headaches down the line.
Frequently Asked Questions
Q: What is the typical lead‑time for custom EVA tool cases? A: Timelines split into sampling and mass‑production. Sampling commonly takes 7‑14 working days, and mass‑production for custom molded cases often runs around 20 working days after sample approval. You should add transit time and contingency buffers to these figures.
Q: Can I change foam layout details after mass‑production has begun? A: Small foam cavity adjustments may be possible with re‑work fees. Major changes to shell shape or full foam layout usually require new tooling, with added cost and extended timelines. Best practice is to lock all layout decisions before you sign‑off for bulk production.
Q: Are EVA cases fully waterproof? A: The EVA shell material itself offers water‑resistance, but standard zippers and seams are not fully waterproof. If you need true water‑proof performance for field‑use tools, you must specify waterproof zipper options in your project brief.
Q: What MOQ can I expect for fully custom‑molded EVA tool cases? A: Many professional EVA‑case manufacturers offer custom‑molded projects starting at 500 pieces. Ready‑to‑stock blank cases can support much smaller trial quantities if you do not need custom shell moulding.
Post time: Aug-31-2026